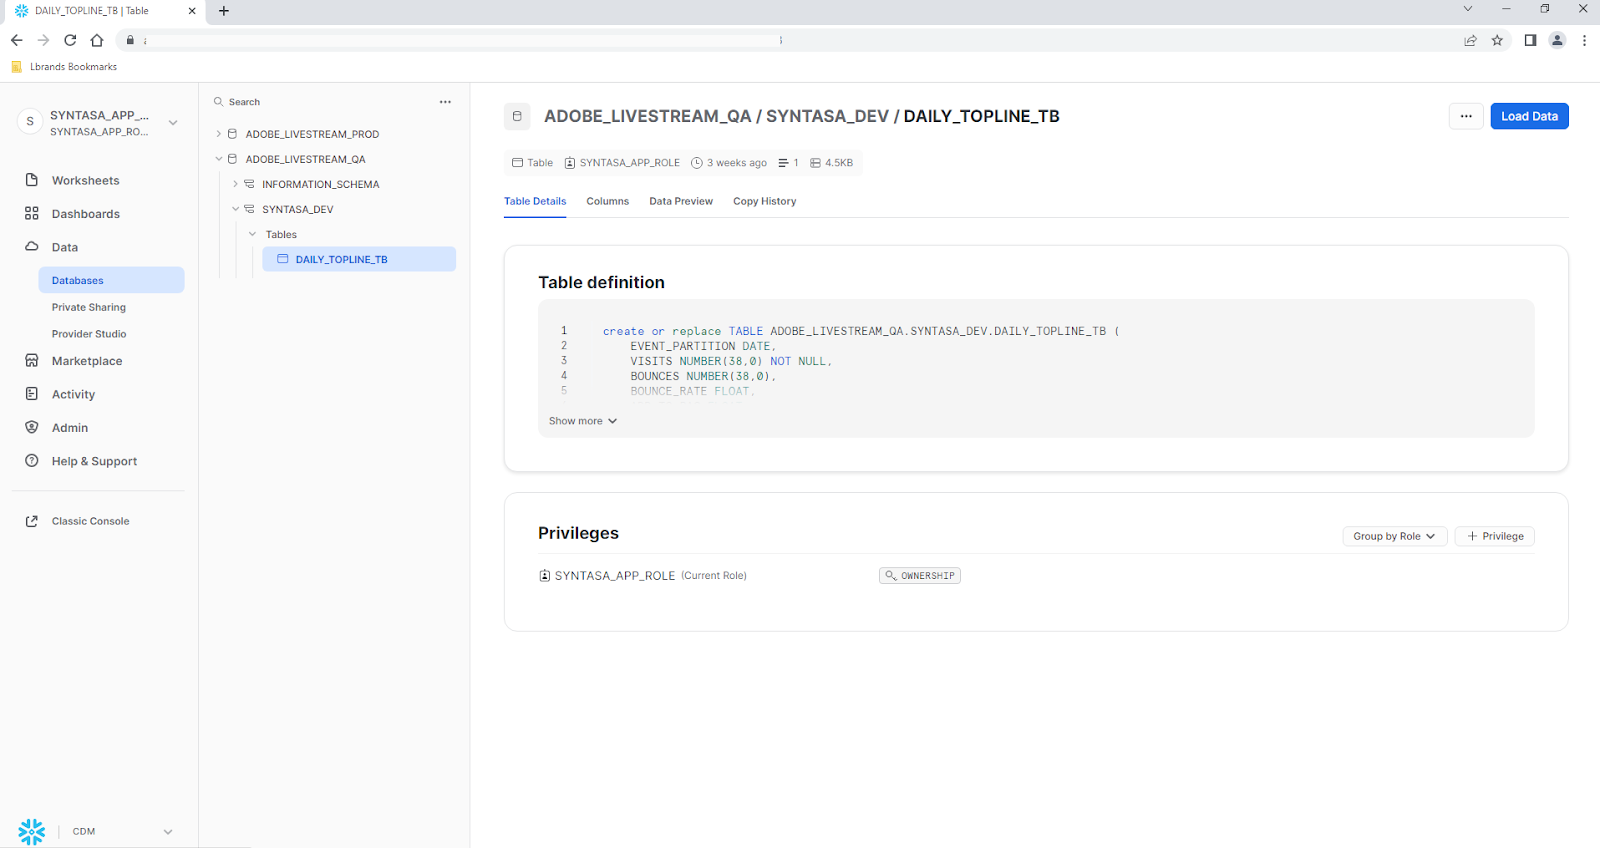
In today's data-driven world, organizations constantly look for efficient ways to push data into their data warehouses. Snowflake, a popular cloud-based data warehousing solution, offers powerful capabilities for data storage and analytics.
Pushing data into Snowflake from Syntasa processes enables you to efficiently integrate, transform, and load data into a powerful cloud-based data warehouse. By integrating the two technologies, you can leverage the capabilities of Syntasa and Snowflake to unlock the full potential of your data analytics and drive informed decision-making within your organization.
Following the steps outlined in this guide, you can configure Syntasa to seamlessly connect with Snowflake and ensure a smooth data flow. The needed configuration to push data into Snowflake from Syntasa processes requires the following steps:
- Snowflake account setup
- Extracting and transforming data
- Configuring Snowflake as a destination
- Mapping and loading data
- Data validation and monitoring
- Schedule and automate
Snowflake account setup
Ensure you have a Snowflake account and proper access credentials to connect to your Snowflake instance. If you haven't already, create a Snowflake account and configure your virtual warehouse and databases.
Extracting and transforming data
Using Syntasa's intuitive interface, build data pipelines to extract data from your defined sources. Apply any necessary transformations or enrichment to the data during this stage to ensure it aligns with your desired schema in Snowflake. A detailed guide on app creation & ETL in the Syntasa platform can be found in Creating Apps section and in Syntasa University.
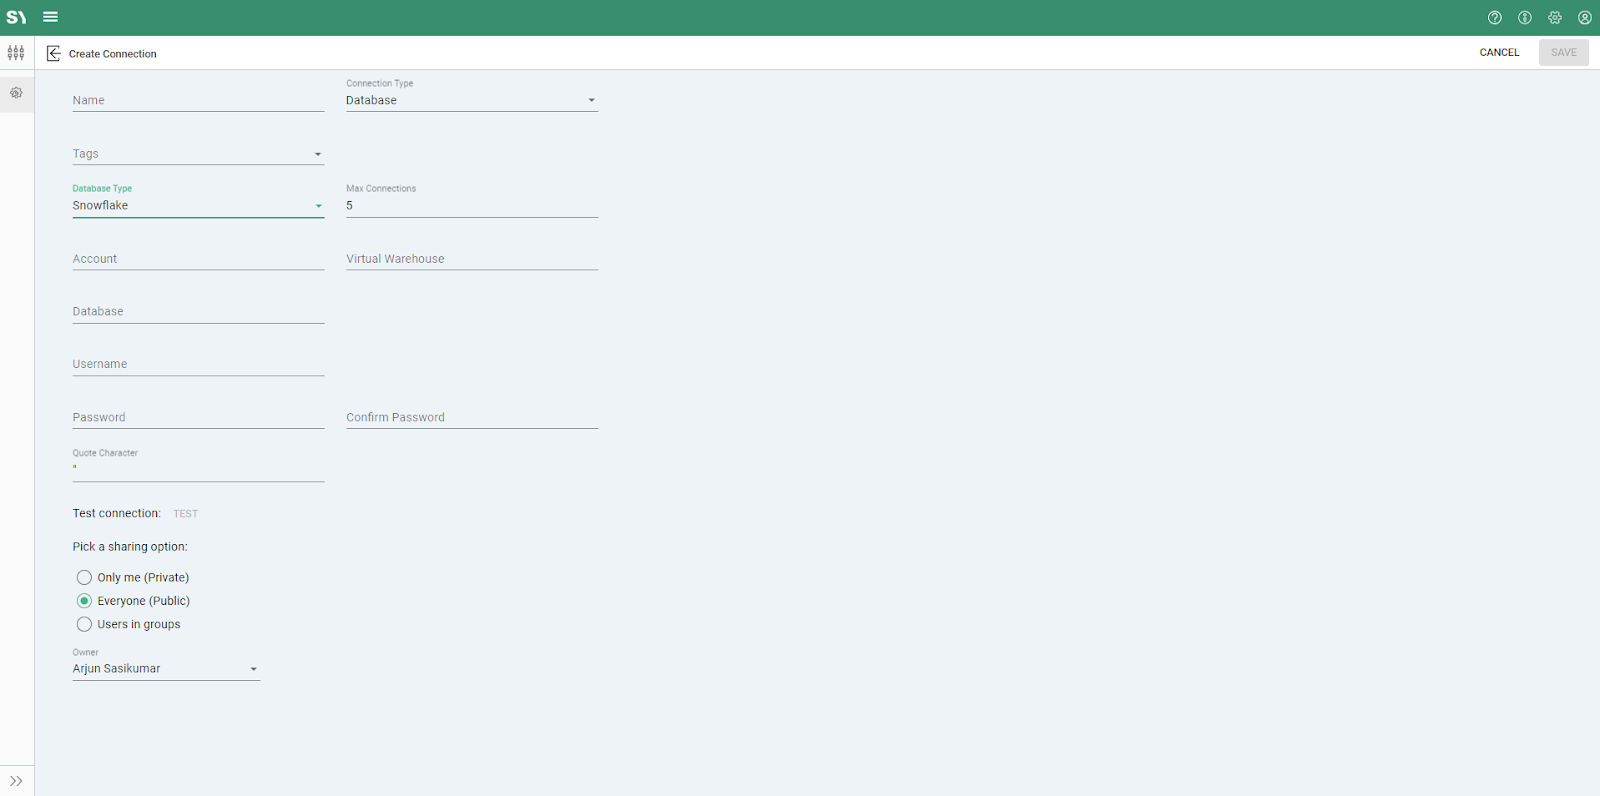
Configuring Snowflake as a destination
Within Syntasa, configure Snowflake as your target destination. Create a Snowflake connection, using the connection type "Database" and database type "Snowflake", and provide the required connection details, such as the Snowflake account URL, role, username, password, warehouse, database, and schema information:
- URL: ***.snowflakecomputing.com
- Role: ***_APP_ROLE
- Username: APP_USER
- Password: *****
- Database: ****_DB
- Schema: ****
- Warehouse: ****
Mapping and loading data
Two processes can be used to push the data from the Syntasa datastore to Snowflake:
- To DB process
- Spark Processor process (utilizing Spark Snowflake Connector)
Map the transformed data fields from Syntasa's output to the corresponding columns in Snowflake. Ensure the data types and formats are aligned to avoid data compatibility issues. Once the mapping is complete, initiate the data loading process.
Data validation and monitoring
Perform thorough data validation and quality checks to ensure the data is accurately loaded into Snowflake. Syntasa provides monitoring capabilities to track the progress of your data processes and troubleshoot any issues that may arise. A guide can be found in the Syntasa Platform Monitoring article.
Schedule and automate
If you require regular data updates, schedule your Syntasa processes to run at specified intervals. This automation will allow you to keep your Snowflake data warehouse up to date with the latest information. A guide on how to schedule jobs can be found in the App Operations Configuration article.